Setting Up Infill Options
How to create infill patterns in the Pricing Engine with percentages, cost multipliers, descriptions, and images.
What Are Infill Options?
Infill refers to the internal structure of a 3D printed part. A higher infill percentage means more material inside the part, resulting in greater strength and weight but longer print times and higher costs. Infill options let your customers choose the density that suits their use case.
Navigating to Infills
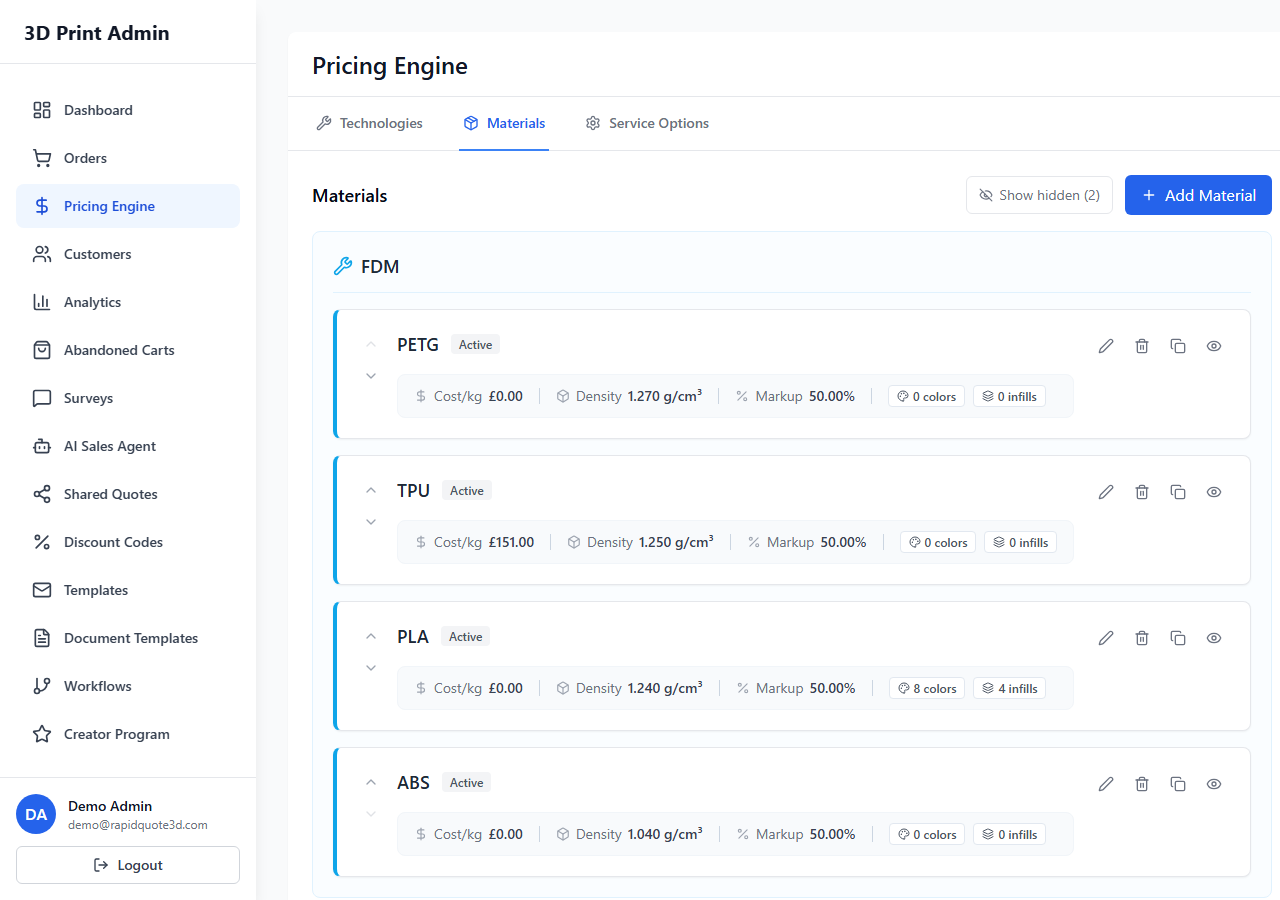
Infills are configured in two places in RapidQuote3D:
- Pricing Engine > Materials tab — When editing a material, you can add infill options with their cost multipliers. These are the infills available for that specific material and directly affect pricing.
- Settings > Infill Display — This is where you configure the customer-facing presentation of infill options, including preset names, images, and explainer text (covered in a separate guide).
Adding Infill Options to a Material
- Go to the Pricing Engine and select the Materials tab.
- Click Edit on the material you want to add infill options to.
- In the material modal, find the infill section and click Add Infill.
Infill Fields
- Name (required) — A descriptive name for the infill pattern (e.g. "Light", "Standard", "Heavy", "Solid").
- Percentage — The infill density as a number between 0 and 100. Common values include 20% (light), 50% (standard), and 100% (solid).
- Description — A short explanation shown to customers (e.g. "Suitable for decorative items" or "Maximum strength for functional parts").
- Cost Multiplier — A multiplier applied to the base price. A value of
1.0means no change,1.3means 30% more expensive, and0.8means 20% cheaper. Defaults to1.0. - Active — Toggle to show or hide this infill option.
Infill Images
You can upload an image for each infill option to help customers visualise the internal structure. Click the upload area in the infill modal to select an image file. Supported formats include PNG and JPEG. A clear cross-section image showing the infill pattern works best.
Infill Explainer Text
At the top of the infills list in the Pricing Engine, there is an Infill Explainer text field. This is a brief paragraph shown to customers to help them understand what infill means and why it matters. Write something approachable, such as: "Infill controls how solid your part is inside. Higher infill means a stronger, heavier part."
Common Infill Setups
A typical configuration includes three options:
- Light (20%) — Cost multiplier around 0.8–1.0. Suitable for display models and prototypes.
- Standard (50%) — Cost multiplier around 1.0–1.2. A good balance of strength and cost.
- Solid (100%) — Cost multiplier around 1.5–2.0. Maximum strength for functional parts.
Tips
- Not all technologies use infill (e.g. SLA resin prints are typically solid). You may only need infill options for FDM technologies.
- Keep the number of options manageable — three to four choices is usually enough.
- Use clear, non-technical names so customers can make confident decisions.
Need help with this topic? Contact our support team