Configuring Colours
How to add colour options for your materials, assign hex codes, set price modifiers, and control which colours customers can see.
Where Colours Fit In
Colours are assigned to individual materials. When a customer selects a material on the storefront, they are shown the available colour options for that material as visual swatches. Each colour can optionally carry a price modifier to adjust the final quote.
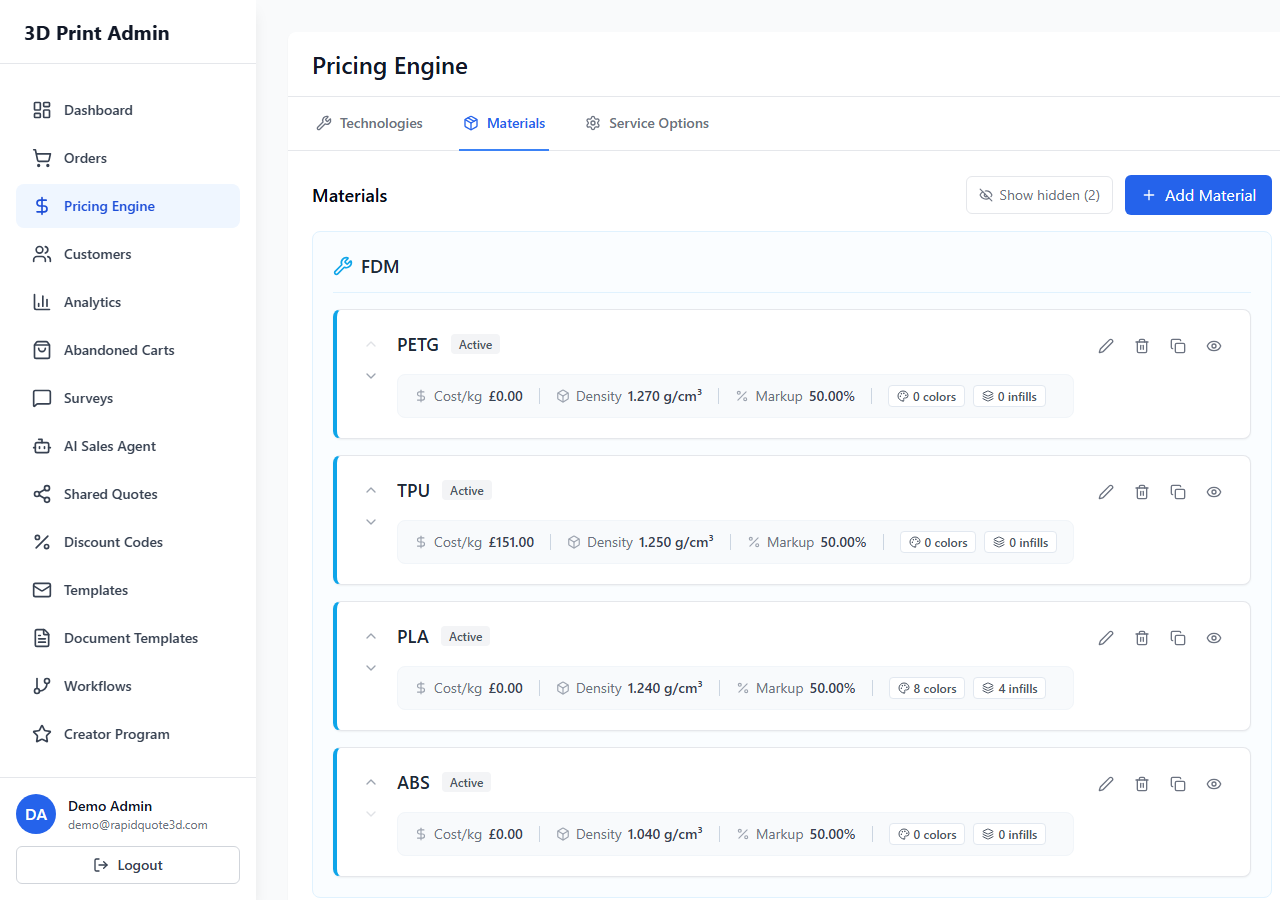
Navigating to Colours
Colours are managed within each material. From the Pricing Engine, go to the Materials tab. When you open a material for editing, you will find the colours associated with that material. You can also add colours directly when creating or editing a material in the material modal.
Adding a New Colour
- Open a material for editing by clicking its Edit button.
- In the material modal, navigate to the colours section.
- Click Add Colour to open the colour configuration form.
Colour Fields
- Name (required) — The display name shown to customers (e.g. "Red", "Matt Black", "Translucent Blue").
- Material (required) — The material this colour belongs to. Pre-selected if you are adding from within a material.
- Hex Code (required) — The colour value used for the visual swatch on the storefront. Use the colour picker or type a hex code directly (e.g.
#FF0000for red). Defaults to#000000(black). - Price Modifier Type — Choose between Percentage or Fixed. This determines how the colour affects the base price.
- Price Modifier Value (required) — The amount to add or adjust. For percentage, enter a number like
10for a 10% surcharge. For fixed, enter a currency amount. Use0for no price change. - Active — Toggle to show or hide this colour from customers.
How Colours Appear to Customers
On the customer-facing storefront, colours are displayed as circular swatches using their hex codes. When a customer hovers over a swatch, the colour name is shown. The selected colour is highlighted with a border. If a colour has a price modifier, the price updates in real time as the customer makes their selection.
Editing and Removing Colours
Each colour in the list has Edit and Delete buttons. Editing opens the same form pre-filled with the current values. Deleting removes the colour permanently from that material — customers will no longer see it as an option.
Best Practices
- Use accurate hex codes that match your actual filament or resin colours as closely as possible.
- If a colour uses a premium filament, set a percentage or fixed price modifier to cover the additional cost.
- Keep colour names simple and descriptive — customers should immediately understand what they are selecting.
- Use the Active toggle to temporarily hide colours that are out of stock rather than deleting them.
- Add at least one colour to every active material, otherwise customers will not be able to complete their configuration.
Need help with this topic? Contact our support team