Understanding the Customer Journey
A complete walkthrough of what your customers experience — from uploading a file to completing checkout on your embedded storefront.
Overview
Your embedded storefront provides a complete self-service experience. Customers can upload 3D model files, configure printing options, review their cart, and check out with Stripe — all without leaving your website. This guide walks through every step of that journey.
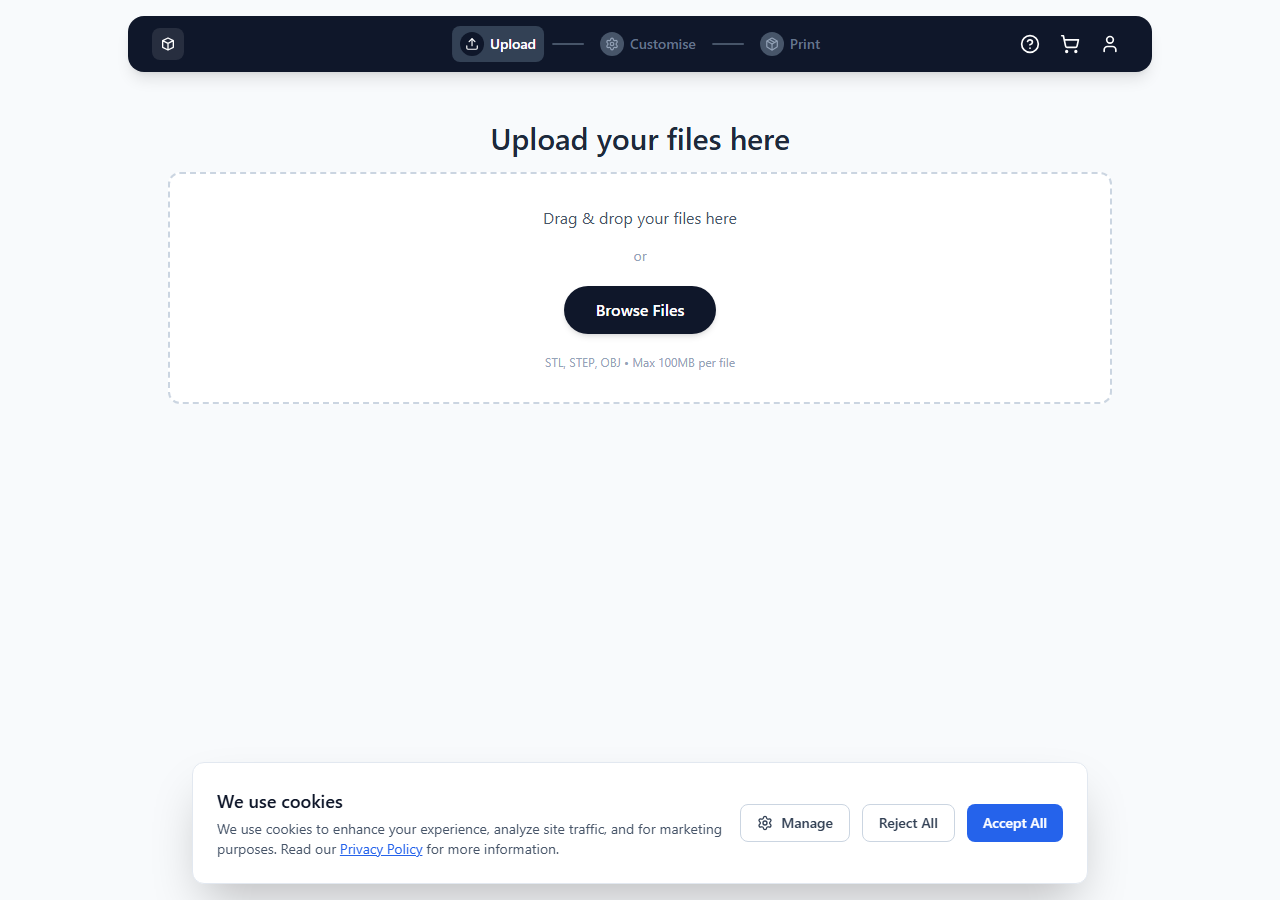
Step 1: Uploading Files
When customers first arrive at your storefront page, they see a clean upload area in the centre of the screen. They can:
- Drag and drop one or more files onto the drop zone.
- Click the upload area to open a file browser.
Supported file formats are STL, OBJ, 3MF, and STEP. Each file is uploaded to the server, and a progress bar shows the upload status followed by an analysis phase where the model's volume, dimensions, and geometry are evaluated.
Once analysis is complete, a 3D thumbnail of the model appears. Customers can click to open a full interactive 3D viewer to inspect their model from all angles.
Step 2: Selecting a Technology
After uploading, customers choose a printing technology (e.g. FDM, SLA, SLS). The available technologies are those you have configured and made active in the Pricing Engine. The step heading and description can be customised in Settings > Customization Flow.
Step 3: Choosing Material and Colour
Based on the selected technology, the available materials are shown in a dropdown. Once a material is selected, the colour options appear as visual swatches using the hex codes you configured. Customers click a swatch to select their colour. If you have set up Material Guidance, an expandable panel shows additional information about the selected material.
Step 4: Selecting Infill (FDM Only)
For technologies that support infill (typically FDM), customers see infill presets as selectable cards. Each preset shows its name (e.g. "Light", "Standard", "Solid"), percentage, and an optional image. An explainer text helps customers understand what infill means.
Step 5: Setting Quantity
Customers enter the number of copies they need using plus/minus buttons or by typing directly. The price updates in real time as the quantity changes. Quantity discounts, if configured, are applied automatically.
Step 6: Reviewing the Price
A sticky order summary sidebar on the right shows the current configuration and calculated price. This updates live as customers make changes. Customers can also select a delivery speed option if you have configured service options for the selected technology.
Step 7: Adding to Cart
Once satisfied with their configuration, customers click Add to Cart. They can then upload and configure additional files, or proceed to checkout. The cart icon in the header shows the number of items.
Step 8: Cart Review
The cart page shows all added items with their configurations, quantities, and prices. Customers can adjust quantities, remove items, or apply a discount code. The cart also shows subtotals, delivery costs, VAT (if applicable), and the grand total.
Step 9: Checkout
At checkout, customers provide their contact details and delivery address. If they already have an account, they can log in. New customers can check out as a guest or create an account. Payment is handled securely via Stripe.
Step 10: Confirmation
After successful payment, customers see an order confirmation page with their order number and a summary of what they ordered. They also receive a confirmation email. The order immediately appears in your admin Orders page.
Need help with this topic? Contact our support team