Configuring the Customisation Flow
How to customise the step headings and descriptions shown to customers during the technology, material, infill, and quantity selection process.
What Is the Customisation Flow?
When customers configure a 3D print on your storefront, they step through a series of selection stages: technology, material and colour, infill density, and quantity. Each step shows a heading and a short description to guide the customer. The Customization Flow settings let you change these headings and descriptions to match your brand voice and terminology.
Navigating to the Settings
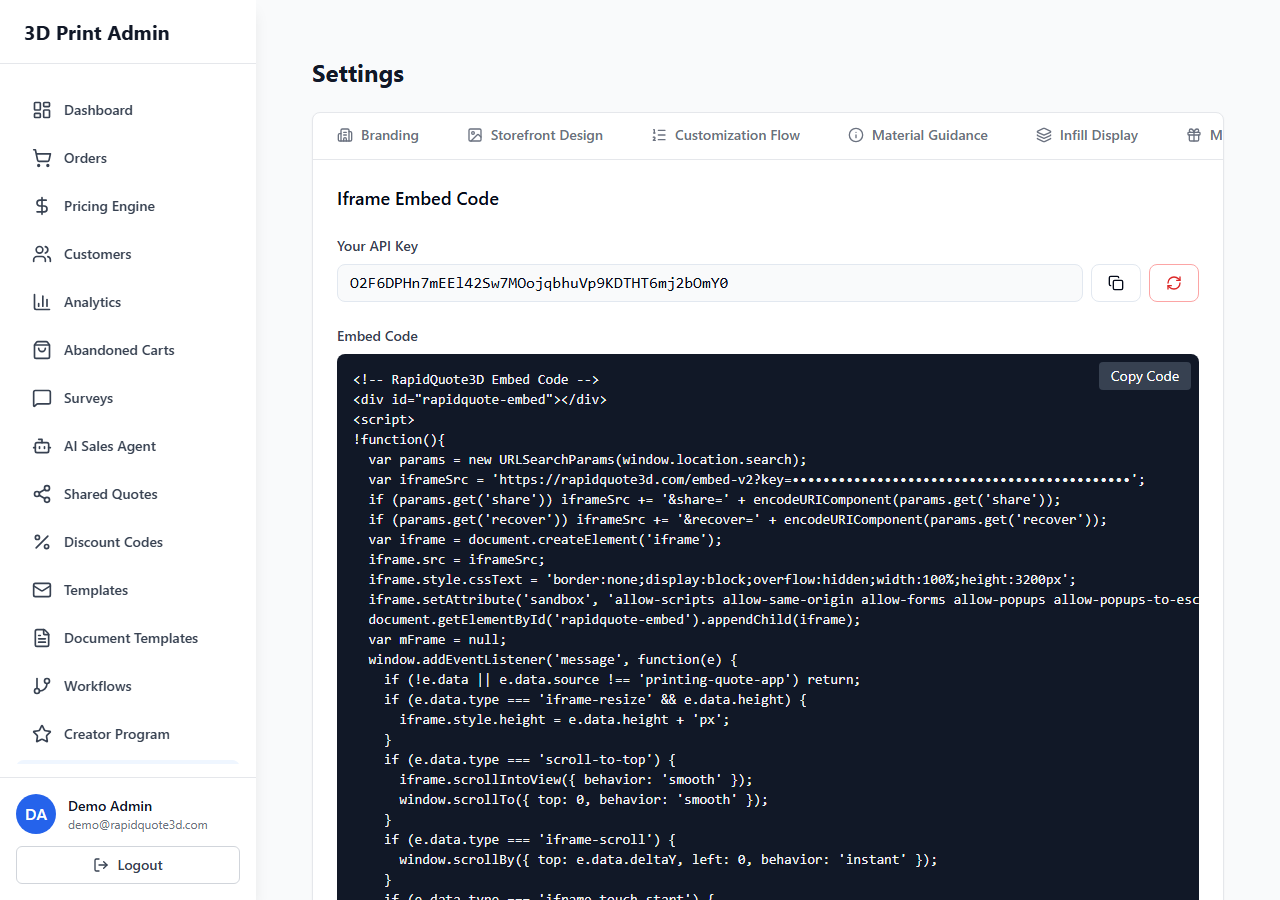
From the left-hand sidebar, click Settings. Select the Customization Flow tab from the horizontal tab bar.
The Four Steps
You will see four configurable steps, each with a heading field and a description field:
Step 1: Technology
- Default Heading: "Technology"
- Default Description: "Choose your printing method. Each technology offers different strengths, finishes, and material options."
- Hint: This step covers printing method selection (FDM, SLS, SLA).
Step 2: Material & Colour
- Default Heading: "Material & Colour"
- Default Description: "Select the material and colour for your part. These choices affect durability, flexibility, and appearance."
- Hint: This step covers the material and colour dropdowns.
Step 3: Infill Density
- Default Heading: "Infill Density"
- Default Description: "Choose how solid your part should be. Higher infill means stronger parts but longer print times."
- Hint: This step only appears for FDM technology.
Step 4: Quantity
- Default Heading: "Quantity"
- Default Description: "How many copies of this part do you need? Volume discounts may apply to larger orders."
- Hint: This is the part quantity input.
Editing the Steps
- Click into the Heading field for any step and type your custom heading.
- Click into the Description field and write your custom description text.
- Repeat for each step you wish to customise.
- Click the Save Changes button to apply your updates.
Resetting to Defaults
If you want to revert any step to its original heading and description, click the Reset button (circular arrow icon) next to that step. This restores the default text without affecting other steps.
When to Customise
Consider customising the flow text if:
- Your audience uses different terminology (e.g. "Print Method" instead of "Technology").
- You want to highlight specific selling points in the descriptions (e.g. mentioning free colour changes).
- You serve a non-technical audience and want simpler language.
- You want to add calls to action (e.g. "Not sure? Ask our AI assistant below").
How It Appears to Customers
On the storefront, each step shows the heading as a bold section title with the description in smaller text below it. The steps appear in sequence as customers make their selections, guiding them through the process one choice at a time.
Need help with this topic? Contact our support team