Configuring Infill Display for Customers
How to set up the customer-facing infill presets, images, and explainer text shown on your storefront.
What Is Infill Display?
The Infill Display settings control how infill options are presented to customers on your storefront. While the Pricing Engine defines the pricing impact of different infill levels, these settings define the visual presentation — preset names, descriptions, images, and educational explainer text.
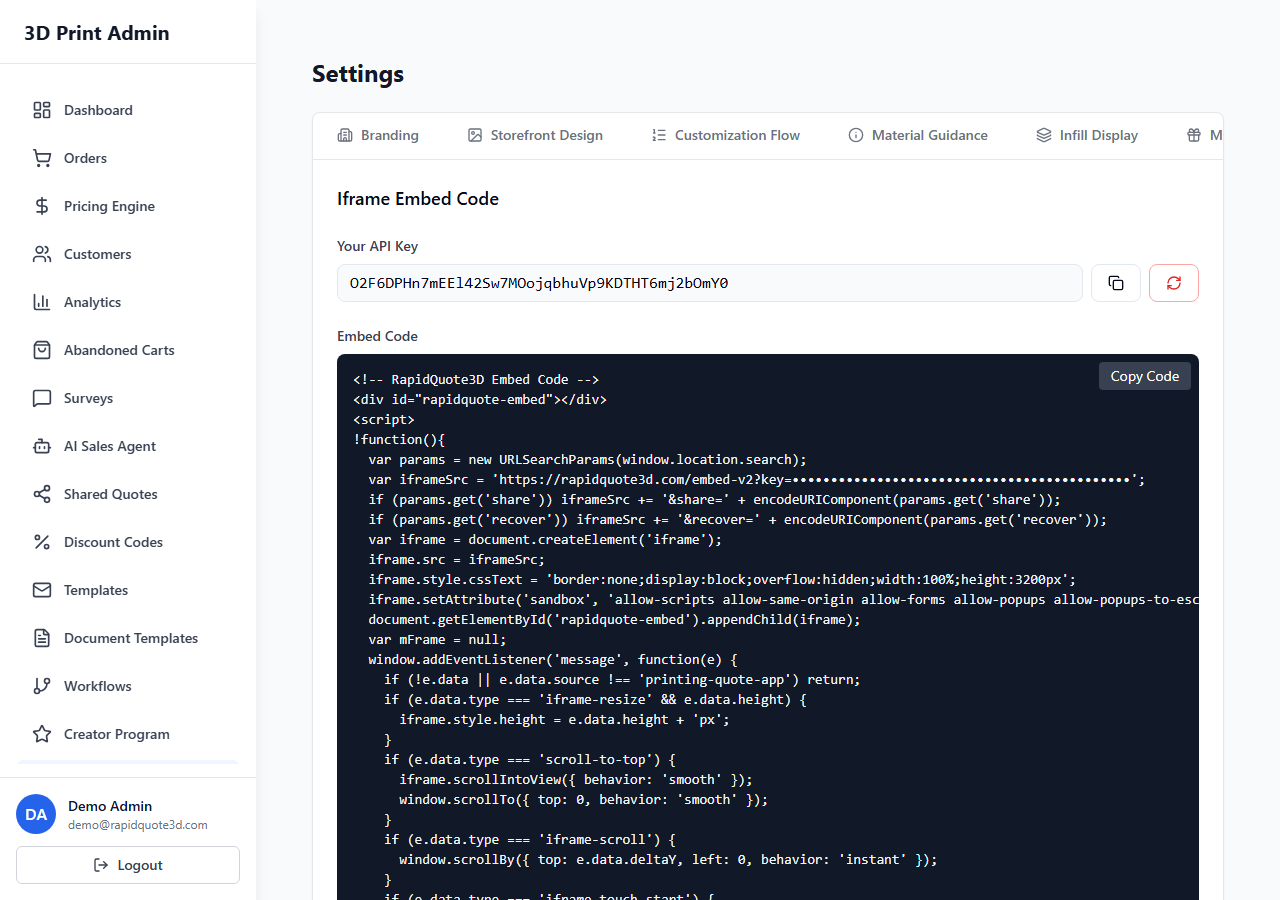
Navigating to Infill Display
From the left-hand sidebar, click Settings. Select the Infill Display tab from the horizontal tab bar.
Infill Presets
The Infill Display page shows three configurable presets that customers choose between. Each preset represents a different density level:
Preset 1: Light (Default 20%)
- Name — The display name (default: "Light").
- Percentage — The infill density value (default: 20).
- Description — A brief explanation of when this option is suitable (e.g. "Best for display models and non-structural prototypes").
- Image — An optional cross-section image showing the infill pattern at this density.
Preset 2: Standard (Default 50%)
- Name — The display name (default: "Standard").
- Percentage — The infill density value (default: 50).
- Description — A brief explanation (e.g. "A good balance of strength and cost for general-purpose parts").
- Image — An optional cross-section image.
Preset 3: Solid (Default 100%)
- Name — The display name (default: "Solid").
- Percentage — The infill density value (default: 100).
- Description — A brief explanation (e.g. "Maximum strength and durability for functional end-use parts").
- Image — An optional cross-section image.
Uploading Preset Images
- Click the upload area or the upload button next to a preset.
- Select an image file (PNG or JPEG recommended).
- The image uploads and a preview appears. Use images that clearly show a cross-section of the infill pattern — this helps customers visualise what they are selecting.
- To remove an image, click the delete (bin) icon next to the preview.
Explainer Text
At the top of the page, there is an Explainer Text field. This is a paragraph displayed above the infill presets on the storefront to educate customers about what infill is and why it matters. Write something clear and non-technical, for example:
"Infill determines how solid your part is on the inside. A lower infill uses less material and is lighter, while a higher infill creates a stronger, heavier part. Choose based on whether your part needs to be decorative or load-bearing."
Saving Your Changes
After editing the preset names, descriptions, percentages, and uploading images, click the Save button at the bottom of the page. A success notification confirms the settings have been saved and changes take effect immediately on your storefront.
How It Appears to Customers
On the storefront, when customers reach the infill selection step (typically only shown for FDM technology), they see the explainer text at the top, followed by three selectable cards — one for each preset. Each card shows the preset image (if uploaded), name, percentage, and description. The customer clicks a card to select their preferred infill level, and the price updates automatically.
Tips
- Use consistent image styles across all three presets for a professional look.
- Write descriptions that focus on practical outcomes (strength, weight, cost) rather than technical percentages.
- If you only offer FDM printing, consider renaming the presets to match your audience's language.
Need help with this topic? Contact our support team