Creating Customer Surveys
Build custom surveys with various field types, collect customer feedback, and review response analytics to improve your service.
Accessing the Survey Builder
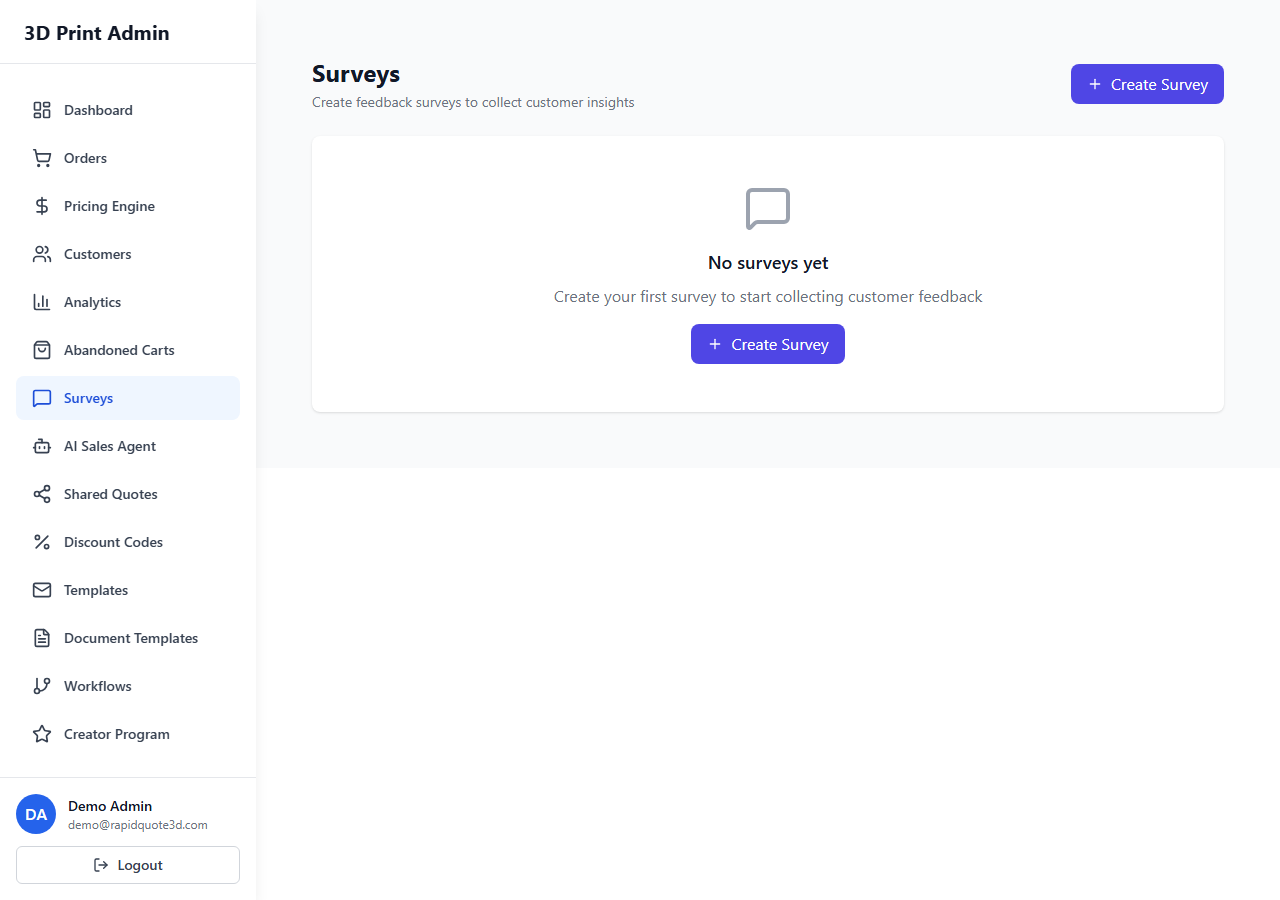
Navigate to Marketing > Surveys in your admin dashboard. This page lists all your existing surveys with their response counts and active status. Click Create Survey to start building a new one.
Naming and Describing Your Survey
Start by entering a Survey Name (visible internally to your team) and a Description (visible to customers at the top of the survey). The description should briefly explain why you are collecting feedback and how long the survey takes. For example: “We’d love to hear about your experience. This short survey takes less than 2 minutes.”
Adding Fields
Click Add Field to add questions to your survey. Each field has a type, a label (the question text), and an optional “Required” toggle. The available field types are:
Text Field
A single-line text input for short answers. Use this for questions like “What product did you order?” or “How did you hear about us?”.
Textarea
A multi-line text area for longer responses. Ideal for open-ended questions like “Is there anything we could improve?” or “Please describe your experience.”.
Rating
A star-rating field (1 to 5 stars). Perfect for measuring satisfaction, quality, or likelihood to recommend. The label might be “How would you rate the quality of your print?”.
Multiple Choice
A list of predefined options that the customer can select from. After choosing the Multiple Choice type, enter each option on a separate line. You can also toggle whether the customer can select one option or multiple options.
Reordering and Editing Fields
Drag and drop fields using the handle icon to reorder them. Click the pencil icon on any field to edit its label, type, or required status. Click the bin icon to remove a field. Changes are saved when you click Save Survey.
Activating Your Survey
Surveys are created in a Draft state. When you are ready to start collecting responses, toggle the Active switch. Active surveys can be linked to post-order workflows (see below) or shared via a direct URL.
Viewing Responses
Click on any survey from the list to view its responses. The Responses tab shows:
- A list of individual responses, each with the customer’s name, email, and submission date.
- Click on any response to see the full set of answers.
Response Analytics
The Analytics tab provides aggregated insights across all responses:
- Rating fields show the average score and a distribution chart (how many 1-star, 2-star, etc.).
- Multiple choice fields show a bar chart of option popularity.
- Text and textarea fields show a list of all answers for manual review.
- Total Responses and Completion Rate are displayed at the top.
Linking Surveys to Workflows
You can trigger surveys automatically after specific events. In the survey settings, under Trigger, select when the survey should be sent:
- After Delivery – The survey email is sent a configurable number of days after the order status changes to “Delivered”.
- Manual Only – The survey is only accessible via its direct link and is not sent automatically.
When linked to a workflow, the customer receives an email with a link to complete the survey. You can customise the email subject and body in the survey settings.
Need help with this topic? Contact our support team