Creating Your First Workflow
Get started with workflow automation by creating your first trigger-and-action workflow to automate repetitive tasks in your 3D printing business.
Creating Your First Workflow
Workflows automate repetitive tasks by connecting triggers (events that happen in your store) to actions (things you want to happen in response). For example, you can automatically send an email when an order is placed, or generate a discount code when a cart is abandoned.
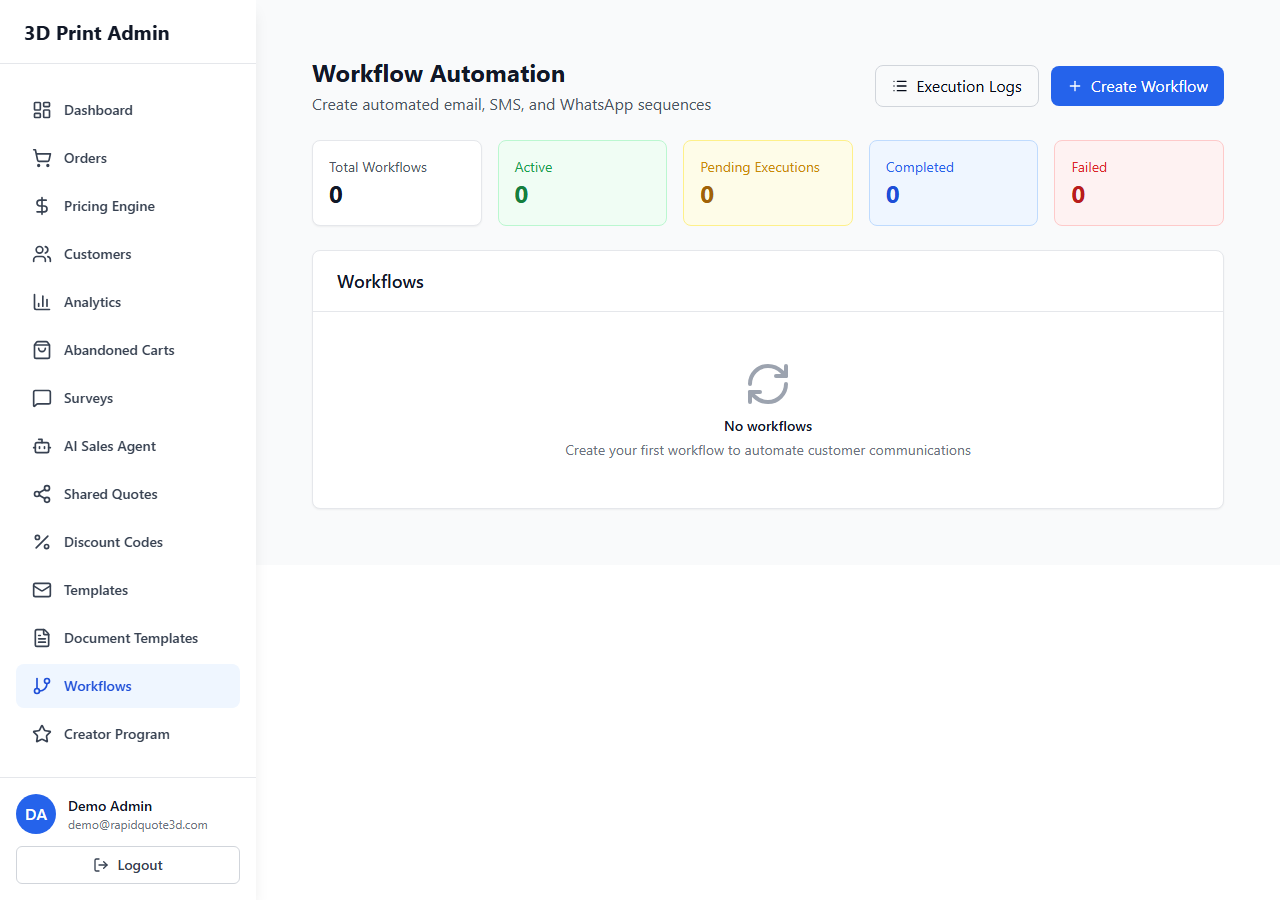
Navigating to Workflows
- From your admin dashboard, click Automation in the left-hand sidebar.
- Select Workflows from the submenu.
- You will see a list of existing workflows. New accounts may have a few default workflows already configured.
Creating a New Workflow
- Click the Create Workflow button in the top-right corner.
- Enter a Workflow Name — choose something descriptive, such as "Send confirmation email on new order" or "Abandoned cart recovery sequence".
- Optionally add a Description to explain the workflow's purpose. This is helpful when multiple team members manage automations.
Understanding the Trigger → Action Model
Every workflow follows a simple two-part structure:
- Trigger — The event that starts the workflow. Examples: "Order Created", "Payment Received", "Cart Abandoned".
- Actions — One or more tasks that execute when the trigger fires. Examples: "Send Email", "Send SMS", "Create Discount Code".
Think of it as: "When [trigger] happens, do [action 1], then [action 2], then [action 3]..."
Adding a Trigger
- In the workflow editor, click Add Trigger.
- Select a trigger type from the dropdown list (e.g. "Order Created").
- Configure any trigger-specific options. For example, "Order Status Changed" lets you specify which status transition should fire the trigger.
- Only one trigger can be assigned per workflow. If you need the same actions for multiple triggers, create separate workflows.
Adding Actions
- Click Add Action below the trigger.
- Select an action type (e.g. "Send Email").
- Configure the action — for "Send Email", you would select which email template to use.
- Add additional actions as needed. Actions execute in the order they are listed.
- You can drag and drop actions to reorder them.
Enabling and Disabling Workflows
Every workflow has an Active toggle:
- Enabled (green) — The workflow is live and will execute when its trigger fires.
- Disabled (grey) — The workflow is saved but will not execute. Use this to pause a workflow without deleting it.
New workflows are disabled by default. Once you have finished configuring and testing, toggle the workflow to Active.
Workflow Priority Ordering
When multiple workflows share similar triggers, priority determines which executes first:
- Workflows are executed in the order they appear in the workflows list.
- Drag workflows up or down in the list to change their priority.
- Higher-priority workflows (nearer the top) execute first.
- All matching workflows will execute — priority only affects the order, not exclusivity.
Example: Your First Workflow
Here is a simple workflow to get you started:
- Name: "New Order Confirmation"
- Trigger: Order Created
- Action 1: Send Email → select your "Order Confirmation" template
- Action 2: Send SMS → select your "Order Received SMS" template
- Toggle to Active and click Save.
Now, every time a customer places an order, they will automatically receive a confirmation email and an SMS notification.
Need help with this topic? Contact our support team