Adding Team Members & Roles
Invite team members to your RapidQuote3D account and assign roles that control their level of access to orders, customers, pricing, and billing settings.
Overview
As your 3D printing business grows, you will likely need to bring additional team members into your RapidQuote3D account. The platform supports role-based access control, ensuring each person has the permissions they need without exposing sensitive settings like billing or pricing configuration.
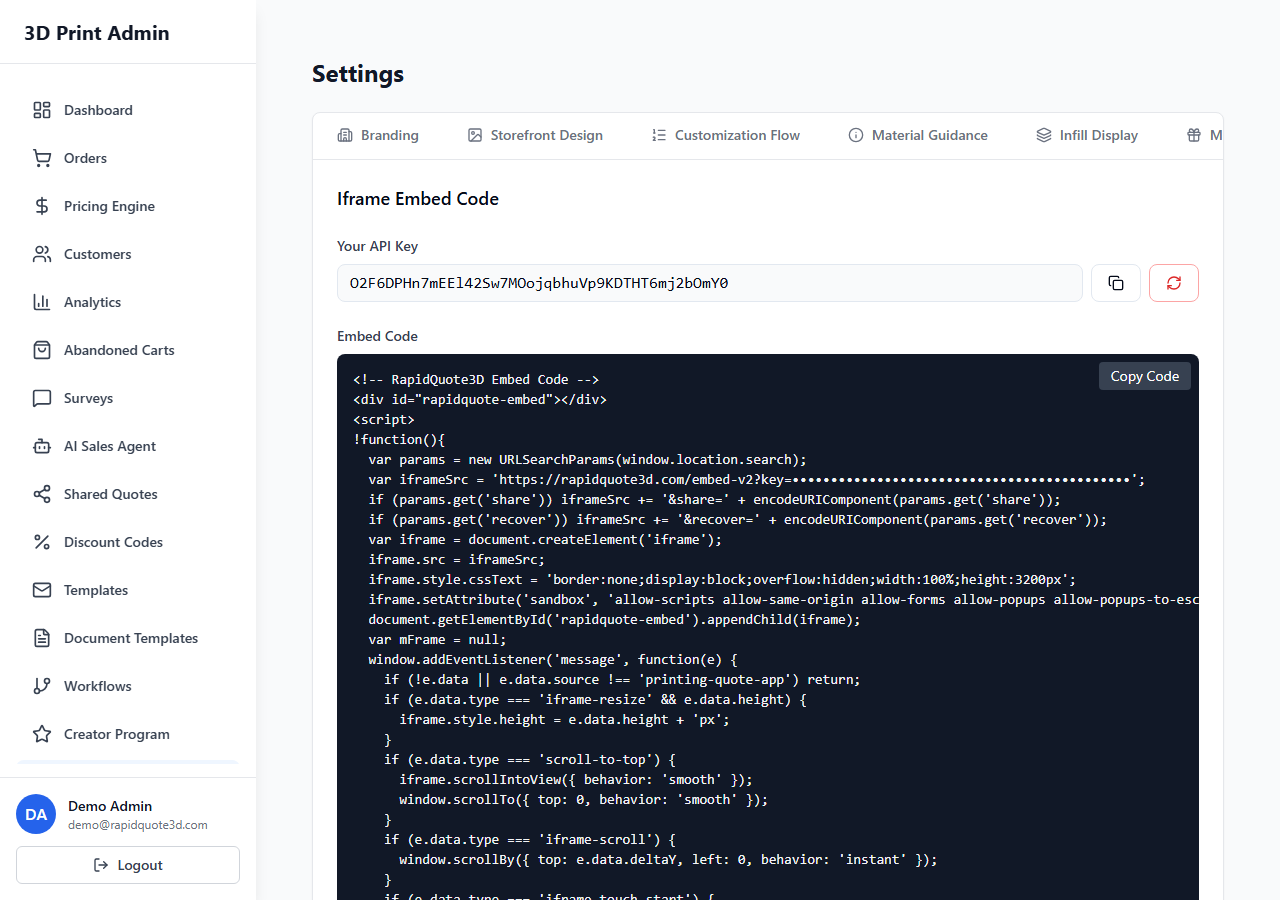
Navigating to Team Settings
- Log in to your RapidQuote3D admin dashboard.
- Click Settings in the left-hand sidebar.
- Select the Team tab from the settings navigation.
You will see a list of all current team members, their roles, and their account status (active or pending invitation).
Inviting a New Team Member
- On the Team settings page, click the Invite Team Member button.
- Enter the team member’s email address.
- Select the appropriate role from the dropdown (Admin, Manager, or Support Staff).
- Click Send Invitation.
- The invitee will receive an email with a link to set up their account and join your workspace.
Pending invitations appear in the team list with a Pending badge. You can resend or cancel an invitation at any time before it is accepted.
Available Roles
RapidQuote3D offers three predefined roles, each with a different level of access:
Admin
Full access to every feature in the platform. Admins can manage billing, change pricing, invite or remove team members, configure integrations, and access all orders and customer data. This role is typically reserved for business owners and senior managers.
Manager
Managers have access to day-to-day operational features including orders, customers, and pricing configuration. They cannot access billing settings, manage team members, or modify integrations. This role suits production managers or senior staff who need to adjust pricing but should not have access to financial administration.
Support Staff
Support Staff have the most restricted access, limited to viewing and managing orders and customer records. They cannot modify pricing, access billing, manage team members, or change any account settings. This role is ideal for customer service representatives or junior production staff.
Role Permissions Breakdown
| Feature | Admin | Manager | Support Staff |
|---|---|---|---|
| View & manage orders | Yes | Yes | Yes |
| View & manage customers | Yes | Yes | Yes |
| Configure pricing | Yes | Yes | No |
| Access analytics | Yes | Yes | No |
| Manage billing & subscription | Yes | No | No |
| Manage team members | Yes | No | No |
| Configure integrations | Yes | No | No |
| Account settings & security | Yes | No | No |
| Creator programme management | Yes | Yes | No |
Changing a Team Member’s Role
- Go to Settings > Team.
- Find the team member in the list and click the Edit (pencil) icon or their name.
- Select the new role from the dropdown.
- Click Save Changes.
The change takes effect immediately. The team member will see their updated permissions the next time they load a page.
Removing a Team Member
- Go to Settings > Team.
- Find the team member and click the Remove button (or the trash icon).
- Confirm the removal when prompted.
Removed team members lose access immediately and will no longer be able to log in to your workspace. Their past activity remains in the audit log for accountability.
Best Practices
- Follow the principle of least privilege — assign each person the minimum role needed for their responsibilities.
- Keep at least two Admin accounts to avoid being locked out if one admin is unavailable.
- Review team member access periodically and remove anyone who no longer needs access.
- Use the activity log to monitor team actions and ensure accountability.
Need help with this topic? Contact our support team