Creating Email Templates
Learn how to create and manage email templates using the rich text editor, insert dynamic variables, and assign templates to automated triggers.
Creating Email Templates
Email templates let you craft professional, reusable messages that are sent automatically or manually throughout the order lifecycle. RapidQuote3D includes a powerful TipTap rich text editor and a full set of dynamic template variables so every email feels personal.
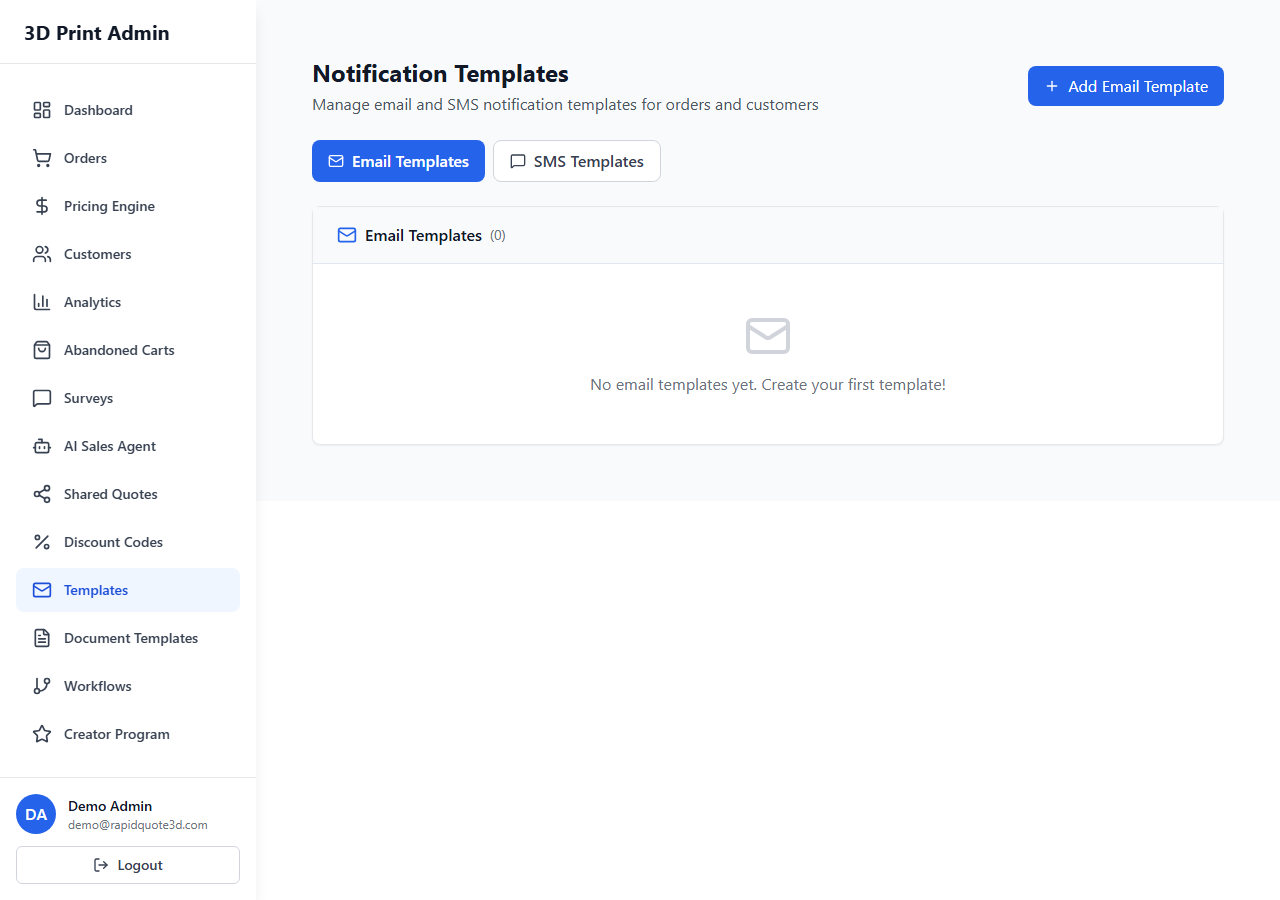
Navigating to Email Templates
- From your admin dashboard, click Communication in the left-hand sidebar.
- Select Email Templates from the submenu.
- You will see a list of all existing templates, including any default system templates that were created when your account was set up.
Creating a New Template
- Click the Create Template button in the top-right corner.
- Enter a Template Name — this is an internal label (e.g. "Order Confirmation", "Shipping Notification").
- Set the Email Subject Line. You can include template variables here, for example:
Your order {{order_number}} has been confirmed. - Use the TipTap rich text editor to compose the email body.
Using the TipTap Rich Text Editor
The editor toolbar provides the following formatting options:
- Text formatting — Bold, italic, underline, strikethrough
- Headings — H1 through H4 for structuring your content
- Lists — Bullet lists and numbered lists
- Links — Insert hyperlinks with custom display text
- Images — Upload images or insert via URL
- Alignment — Left, centre, and right alignment
- Blockquotes — For highlighting important information
- Horizontal rules — Visual dividers between sections
The editor renders a live preview as you type, so you can see how the email will look before saving.
Inserting Template Variables
Template variables are dynamic placeholders that are replaced with real data when the email is sent. To insert a variable:
- Place your cursor where you want the variable to appear.
- Click the Insert Variable button in the toolbar (or type
{{to trigger the autocomplete dropdown). - Select the variable you need from the categorised list.
Common variables include {{customer_name}}, {{order_number}}, {{order_total}}, and {{business_name}}. See the Using Template Variables guide for a full reference.
Preview and Test Send
Before activating a template, you should always preview and test it:
- Click Preview to see the email rendered with sample data filled into each variable.
- Click Send Test Email and enter your own email address to receive a real copy.
- Check formatting, variable rendering, and links in your email client.
Assigning Templates to Triggers
Templates can be linked to automated triggers so they are sent without manual intervention:
- In the template editor, scroll to the Trigger Assignment section.
- Select one or more triggers from the dropdown — for example, Order Created, Order Shipped, or Payment Received.
- When that event occurs, the system will automatically send this email to the relevant customer.
You can also assign templates to triggers from the Automation > Workflows section for more advanced sequencing.
Editing Existing Templates
To modify a template, click its name in the templates list. Make your changes in the editor and click Save. Changes take effect immediately for all future sends — previously sent emails are not affected.
Need help with this topic? Contact our support team